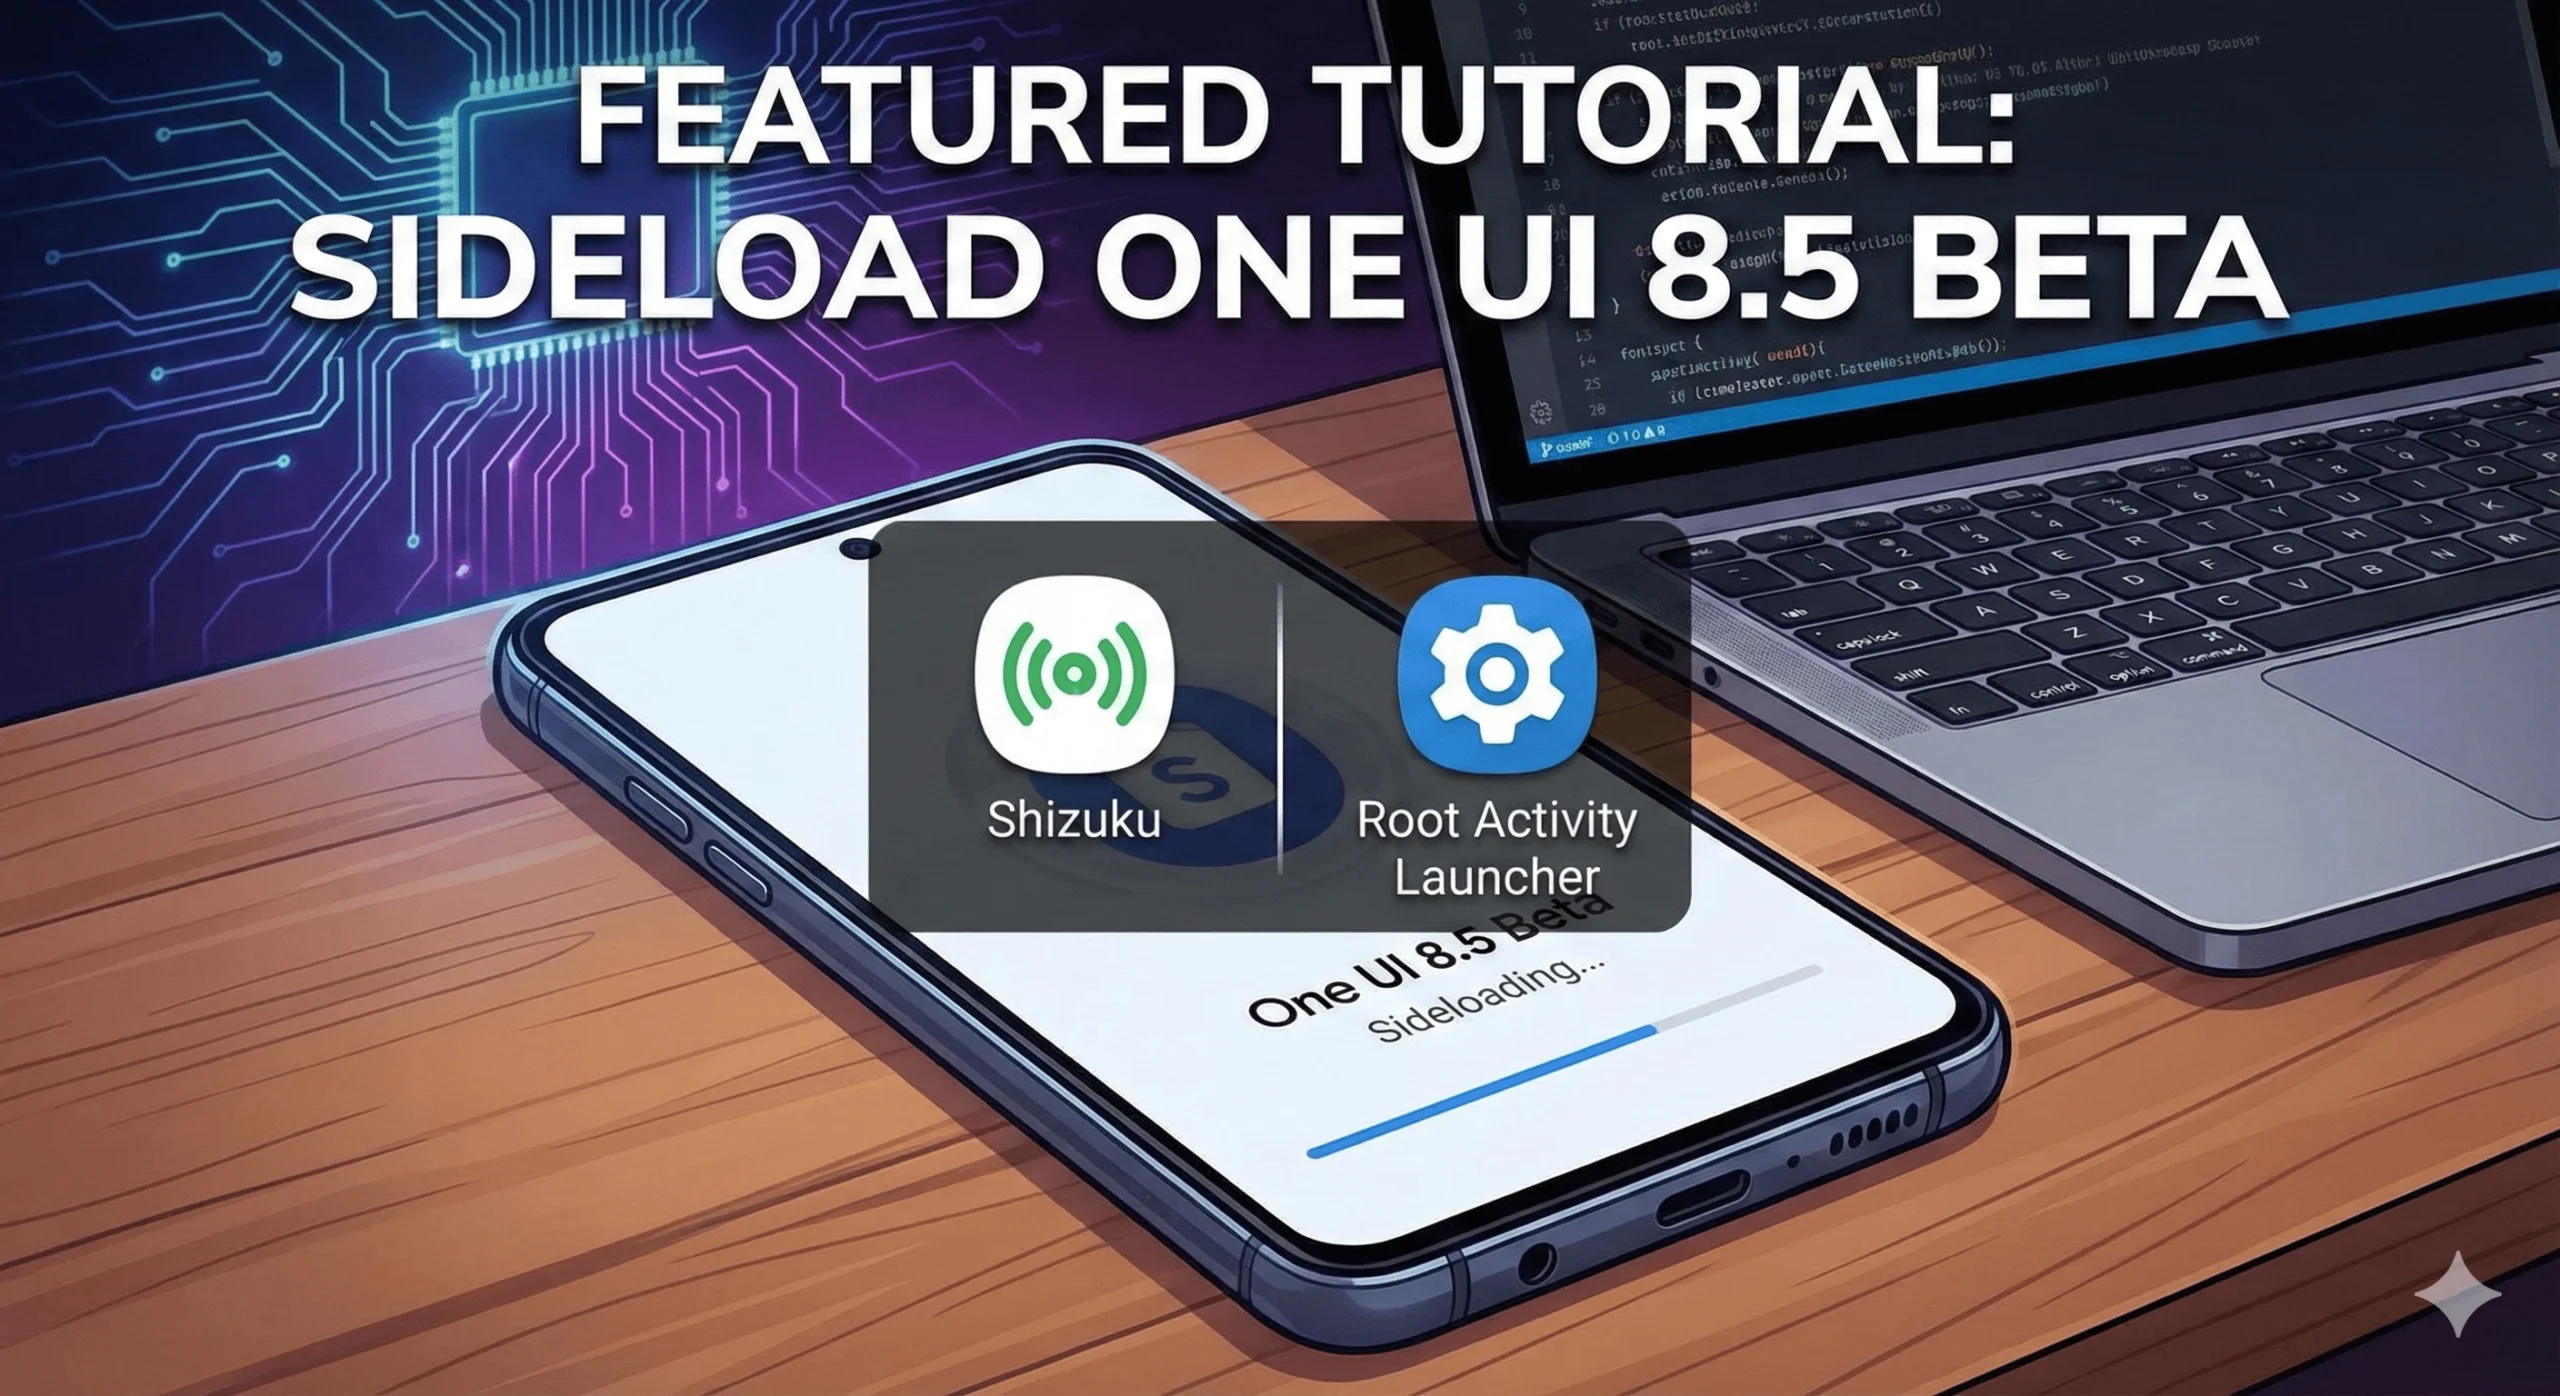
If you feel dissatisfied with the customization and features on your phone, you can use Shizuku ADB rootless mods on any Android device. New Android versions add many features to make the user experience better and give more options to the users. Modding was popular when UIs didn’t offer a lot of features. Customization is now easier than ever, and the latest versions of Android have everything most people need. However, power users still aren’t satisfied, and you can mod your device to get more.
Also Read- How To Fix BSOD on Windows 11
How to get Shizuku ADB rootless mods on your Android device
The Shizuku tool is popular in the community among both beginners and advanced modders. The tool changes the landscape of how modding works since it does not require root.
How to set up without a PC
ADB rootless mods with Shizuku use a unique mechanism that allows third parties to access the APIs. Combining third-party APIs with ADB, Shizuku gives you more control over your device.
1: Install Shizuku and turn on Developer Options
To use tweaks and mods on your Android device, download and install the Shizuku app. It uses Developer Options to grant some permissions and, to reiterate, does not require root.
- Install the Shizuku app on your device. It’s available on the Google Play Store.
- Open the Settings app and tap on About Device.
- Tap on the Build Number five or seven times until it asks you whether you want to enable Developer Options. Enter the passcode.
2: Setting up Shizuku ADB rootless mods with wireless debugging
You can now execute ABD commands on Wi-Fi, and you no longer have to use a USB-C cable. Earlier, you had to connect your device to a computer using a cable to do this. While learning ADB commands directly is difficult, using wireless debugging simplifies the process, and you don’t need to use a PC anymore. You can directly use ADB commands, and Shizuku relies on these commands to start the setup procedure. To pair your device with Shizuku:
- Open the Shizuku app and find the Start via Wireless Debugging option.
- Tap on Pairing and then tap on Developer Options.
- Scroll until you find the Wireless Debugging option. Tap on the Wireless Debugging option.
- Then, tap Use Wireless Debugging.
- You’ll see a checkbox that says Always allow on this network. You have to check that. Turn on the feature by tapping on Allow.
- Tap Pair device with pairing code. You will now get a popup with the pairing code. Enter the code in the designated field and activate the Shizuku service.
Now, you have to pair your device with Shizuku and finish the setup after entering the code. To do that:
- In the notification textbox, enter your unique six-digit Wi-Fi pairing code.
- Tap on the Send button and confirm this.
- Once the pairing is successful, you will get a message. Your device is now connected successfully to Shizuku.
3: Starting the Shizuku Service
- Open the main screen of the Shizuku app and swipe away any popups you get.
- Tap the Start button under the Start via Wireless debugging section. The service will now open on a new screen, and it’ll close after it’s done.
- Go back to the top of the page, and you’ll see a message that says Shizuku is running. It’ll show the version number as well, and it’ll end with .adb.
Troubleshooting: If your device gets stuck on the Searching message while it’s activating, do the following.
- Tap Developer Options.
- Turn off the Wireless debugging toggle, wait a few seconds, and turn the toggle back on.
- Tap the back arrow return to Shizuku, and restart the service.
Note: You have to start the Shizuku service again every single time you reboot your device.
How to set up Shizuku ADB rootless mods with a PC
If you prefer using a PC to set up Shizuku, you’ll have to download platform-tools. You need this to run ADB commands on your PC.
- Download and extract the latest version of Android SDK Platform tools. Install Google USB Drivers on your PC if you don’t already have it.
- Go to Developer Options (enable it if you didn’t), and turn on USB Debugging on your device.
- Confirm that you’ve turned on USB debugging by tapping OK. Now, you have to link your computer with your phone. You can do this with specific ADB commands.
- Connect your device to your computer with a USB cable.
- Tap on Allow and grant your PC access to your phone’s files. Click on Always Allow to avoid any issues with later steps.
- Open a command prompt window or the terminal tool in the platform-tools folder. On Windows, you can click the address bar, type cmd, and press Enter to open a new command window.
- Type “adb devices” in the command window and press Enter. This will ask you to confirm your computer’s fingerprint key. This method double-checks whether your device is connected through ADB.
- You’ll now see a UID number under the List of devices attached. You will know that ADB now recognizes your device. Now, you have to specifically type some commands in the window.
In the command window:
Copy and paste the bold text into your command window: adb shell sh/sdcard/Android/data/moe.shizuku.privileged.api/start.sh and hit Enter once done.
- The command will start the Shizuku service on your phone. It should show an Exit Code 0 after a few seconds, and that means the service has successfully started. Shizuku is ready to use on your device.
- Open your Shizuku app and check whether it’s running. It should display the version number.
Using Shizuku in a terminal:
In the Shizuku app, you’ll see an option that says Use Shizuku in terminal apps. You have to export and edit two files that have the package name of your terminal app. You’ll have to move them to a place where the terminal can find them. If you know how to work with a command line interface, this method is for you.
Note: Just like the previous method, you still have to reactivate and set up Shizuku every time you reboot your phone. Since they rely on ADB, which only makes temporary changes, you can’t permanently save your changes. However, if you’re a power user and don’t mind rooting your device, then you can set up the Shizuku tool with full root access.
Setting up Shizuku with full root access
Note: Rooting has its own pros and cons. You can get superuser access and gain granular control of your device. However, you will lose warranty privileges, and the process carries a risk. We’re not responsible for any data loss you may incur, so we recommend a backup.
- Open the Shizuku app and tap the Start for rooted devices option.
- Tap on the Start button and grant all the root permissions it asks.
- The service will now start on a new screen and close once it’s done.
- Check whether Shizuku is running at the top of the page. You’ll also see the version number here.
For root users, there’s an option to bypass the restart limitation. You don’t have to reactivate Shizuku every time you restart your phone.
- Tap Settings at the top right.
- Tap on the Start on Boot option. This option is only for those who have root access on their device.
- Shizuku will now activate immediately after you restart your phone, and it’s automatic.
You can now test all the mods you want on your device. As more developers hop on board eventually, we expect to see more mods and features with Shizuku.